


How to build a real estate website comes down to three decisions: how listings reach the site, how a visitor becomes a lead, and who builds and owns it. The domain, hosting and theme are the easy part. The hard part is the listing feed, the forms and the rules that come with advertising housing in the US.
This guide is for agents, brokerages and property businesses planning a new site or replacing an old one. It covers what the site must do, how IDX works, the build options and what drives cost.
Key Takeaways
- A real estate website has six jobs: listings, lead capture, agent pages, local area pages, fast pages on phones and the right compliance notices.
- IDX listings come through your MLS under the National Association of REALTORS IDX policy, which sets rules on refresh times and brokerage identification.
- Google treats near-identical city pages that funnel visitors to one page as doorway abuse, so each area page needs real local knowledge.
- A brokerage-provided or IDX-vendor site is often enough for a single agent, and a custom WordPress build earns its cost when you need your own pages and brand.
- Fair housing rules apply to the words and photos on the site, so your broker should review the copy before launch.
What does a real estate website need to do?
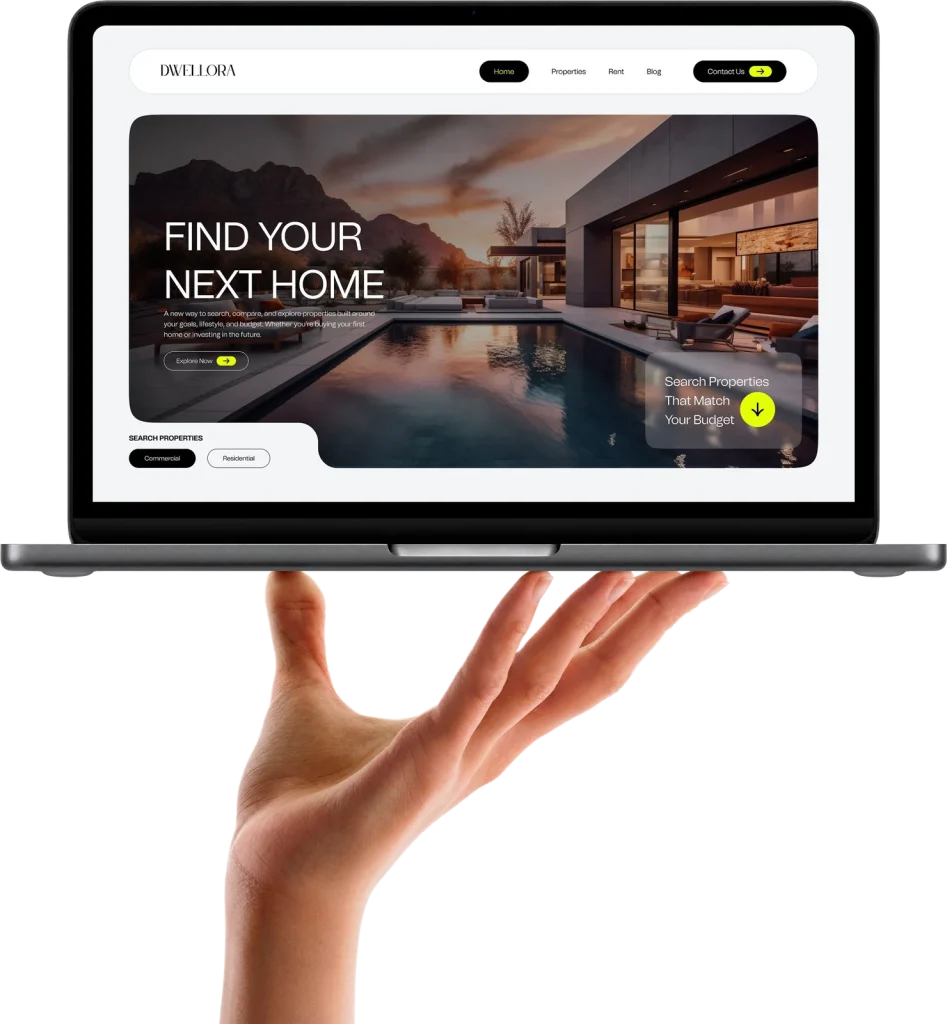
A real estate website needs to show listings, turn visitors into contacts, and prove that the agents behind it know the area. The table below is the checklist we start from.
| Feature | What it does | Check before launch |
|---|---|---|
| Listing search (IDX) | Lets buyers search MLS listings on your site | Filters work on a phone |
| Listing detail pages | Photos, facts, map and an inquiry form | Brokerage name shown |
| Lead capture | Showing and home valuation requests | Every form tested from a phone |
| Agent pages | Photo, bio, areas covered and contact | Details current, links to listings |
| Local area pages | Neighborhood guides written by your team | Each page has its own facts |
| Speed on phones | Fast photos, galleries and maps | Tested on a real phone |
| Compliance notices | Fair housing wording, brokerage identification, privacy | Reviewed by your broker |
How does IDX work on a real estate website?
IDX, short for Internet Data Exchange, is the MLS system that lets you show other brokerages’ listings on your own website. The National Association of REALTORS IDX policy describes it as “limited electronic display and delivery of their listings by other participants”. In practice, your MLS approves the feed and an IDX vendor or plugin displays it on your site.
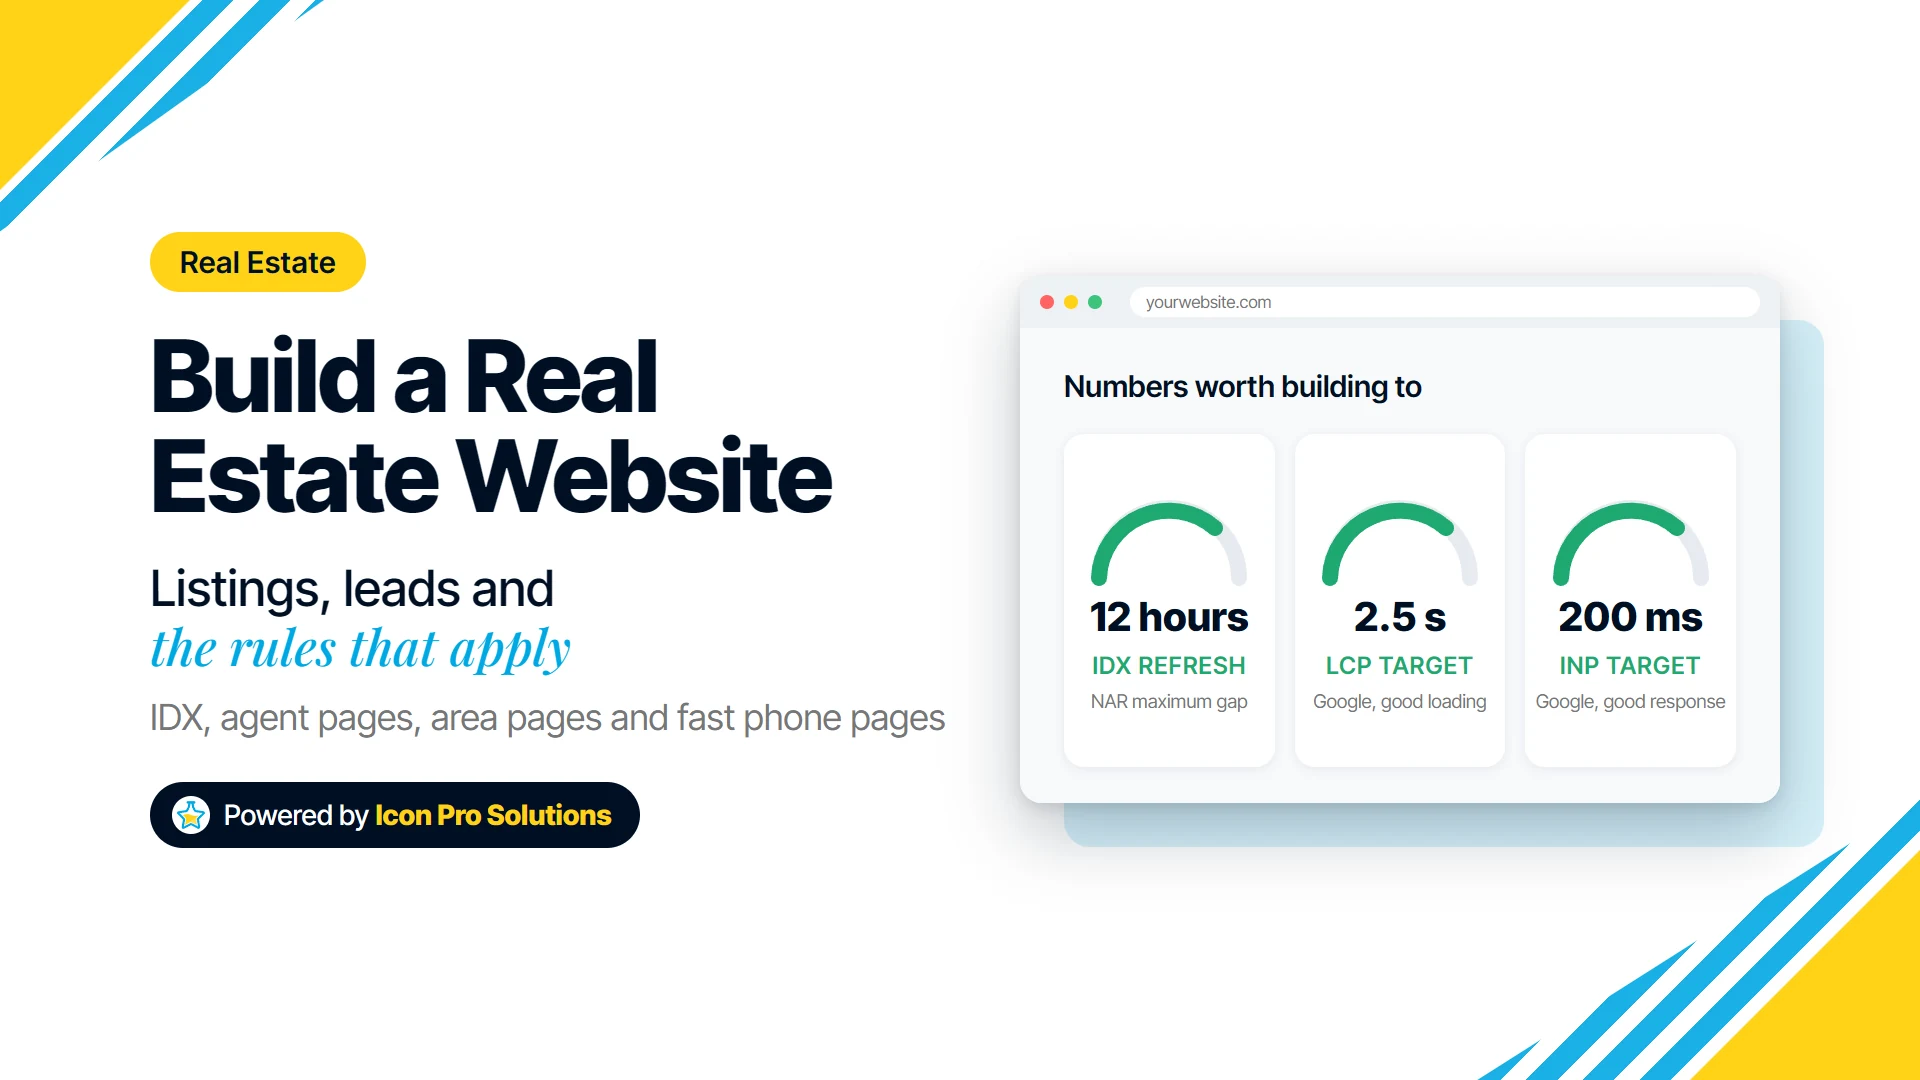
The NAR IDX policy also sets rules the site has to meet. It says “Participants must notify the MLS of their intention to display IDX information” and “Participants must refresh all MLS downloads and displays automatically fed by those downloads not less frequently than every 12 hours.”
Does an IDX display have to show the brokerage name?
Yes, an IDX display must name the brokerage. The NAR IDX policy says a display must “clearly identify the name of the brokerage firm under which they operate in a readily visible color and typeface”. The policy adds that displays “must comply with state law and regulations, and MLS rules”, so your MLS may set more requirements.
Can Google index IDX listing pages?
The NAR IDX policy allows search engines to index IDX listings: “This does not require participants to prevent indexing of IDX listings by recognized search engines.” Whether listing pages load on your own domain in a form Google can read depends on the IDX vendor, so ask each vendor before you sign.
What should lead capture on a real estate website look like?
Lead capture on a real estate website should be short forms placed where a decision happens: on a listing, on an agent page and on a home valuation page. A buyer looking at a property wants to ask about that property, not fill in a general contact form.
- Put a showing request form on every listing page, with the address filled in automatically.
- Give sellers their own path, usually a home valuation request.
- Send every form to a named person or a CRM, and retest each one every few months.
A common pattern we fix is a form that worked at launch and quietly stopped after an email or plugin change.
What goes on agent pages and local area pages?
Agent pages and local area pages are where a real estate website shows local knowledge that a national portal cannot. An agent page needs a real photo, a short bio, the areas covered and a direct way to call. For an investment firm, the people often matter most: our case study on real estate investment website design explains why the team page wins.
Local area pages should each carry facts only someone who works the area would write, such as commute routes and typical housing stock. Google’s spam policies list “Having multiple domain names or pages targeted at specific regions or cities that funnel users to one page” as doorway abuse.
Should a brokerage add LocalBusiness structured data?
A brokerage with a physical office can add LocalBusiness structured data to describe its address and contact details to Google. Google’s LocalBusiness structured data guide says to “Define each local business location as a LocalBusiness type.”
How fast does a real estate website need to be on phones?
A real estate website needs to load quickly on a phone first, because Google judges the mobile version. Google’s mobile-first indexing guide says “Google uses the mobile version of a site’s content, crawled with the smartphone agent, for indexing and ranking.”
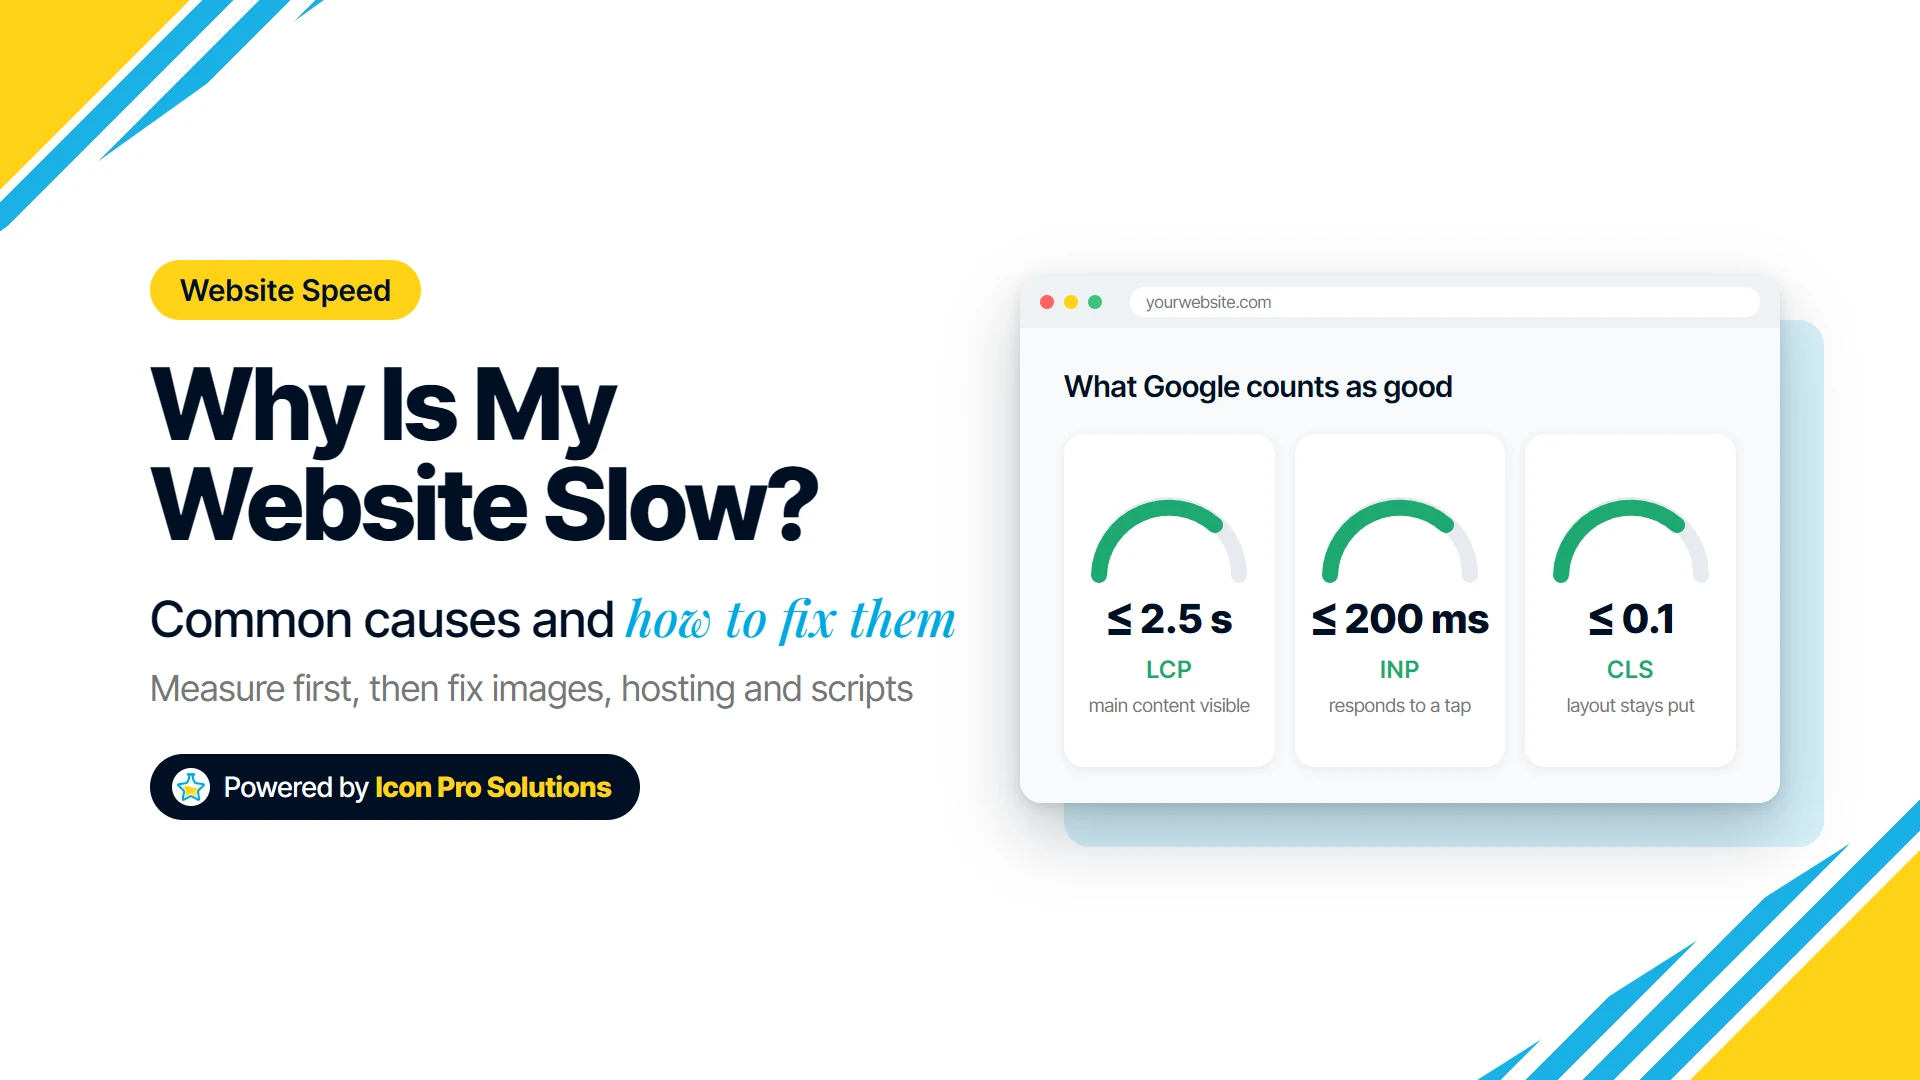
Google’s Core Web Vitals page sets the targets: “strive to have LCP occur within the first 2.5 seconds of the page starting to load”, “strive to have an INP of less than 200 milliseconds” and “strive to have a CLS score of less than 0.1”. Listing photos and map embeds are the usual reasons a real estate site misses them.
- Compress listing photos and serve them at the size the phone shows.
- Load map embeds only when a visitor opens the map.
Which compliance notices does a real estate website need?
A real estate website needs fair housing compliant wording and images, the brokerage identification your MLS and state require, and a privacy policy that covers the forms. Everything here is general information, not legal advice: your broker, your MLS and your state real estate commission set the rules that apply to you.
Fair housing rules cover the website, not only print ads. HUD’s regulation at 24 CFR 100.75 lists as discriminatory advertising “Using words, phrases, photographs, illustrations, symbols or forms which convey that dwellings are available or not available to a particular group of persons” because of a protected characteristic.
- Describe the property and the area, never the people you expect to live there.
- Ask your broker whether the Equal Housing Opportunity logo or statement must appear in the site footer.
- Have your broker review agent pages, area pages and listing templates before launch.
How to build a real estate website: which build option fits?
The right way to build a real estate website depends on how much of the site you need to control.
| Build option | Best for | What you control | Watch out for |
|---|---|---|---|
| Brokerage-provided agent site | New or single agents | Your bio and photo | The site may stay with the brokerage if you move |
| IDX vendor template site | Agents who want listings fast | Colors, logo and some pages | Leaving the vendor can mean starting over |
| WordPress site with an IDX plugin | Teams and brokerages with their own brand | Pages, content, design and hosting | Needs updates and care after launch |
A brokerage-provided or IDX-vendor site is enough when you mainly need a listing search with your name on it and you do not plan to write area pages. A WordPress build makes sense when you want your own domain, your own pages and content you can edit. Our guide on how to build a WordPress website covers the setup steps if you want to try it yourself.
What drives the cost of a real estate website?
The cost of a real estate website is driven by the IDX route, the page types, the content and the care after launch, not by the page count alone.
- The IDX route: a vendor template, a WordPress IDX plugin or a custom feed, each with its own terms.
- The page types: listing, agent, office and area guide pages each need their own design.
- The content: area guides, agent bios and photography take time.
- The integrations: a CRM or a scheduling tool adds setup and testing.
- The care after launch: updates, backups and form checks never stop.
What should you avoid when building a real estate website?
The mistakes to avoid when building a real estate website are the ones that cost you the site or the leads later.
- Registering the domain in a vendor’s or a brokerage’s name instead of your own.
- Copying the same area page for every town and changing only the name.
- Uploading full-size listing photos straight from the camera.
- Launching forms that send to an inbox nobody reads.
- Going live without a final pass, which our website launch checklist covers step by step.
Frequently Asked Questions
Do I need IDX on my real estate website?
You need IDX if you want buyers to search all MLS listings on your own site. If the site is mainly for your own listings and reputation, featured listings and strong agent pages can be enough. Your MLS handles IDX feed requests.
Can I build a real estate website myself with WordPress?
Yes, you can build a real estate website yourself with WordPress if you are comfortable with hosting, themes and plugins. The listing search still needs an approved IDX feed, so contact your MLS and an IDX vendor first.
Is a brokerage-provided website enough?
A brokerage-provided website is often enough for a new agent who mainly needs a profile and a listing search. It becomes limiting when you want your own brand, area guides or a domain you keep if you move brokerages.
Want your real estate website built for you?
If you would rather not work out how to build a real estate website yourself, our WordPress website design service covers custom design, a build in Elementor your team can edit, a mobile-first layout and SEO-ready structure. Every project starts with a written scope, and your domain, hosting and logins are in your name from day one.
If you have a developer and only need the pages designed, our web design service produces build-ready files, and lists Property & Real Estate among the industries it works in. To talk through your site, contact us.